Pack and Go File Export
When you share your Autodesk Inventor Project, there are times when you need to share all of the files and ensure that all of the linked files remain connected to one another. For simple projects this is not always a concern, but for more advanced projects such as the Train Assembly Project, this can be a challenge. To resolve this, we can take advantage of Inventors Pack-and-go feature.
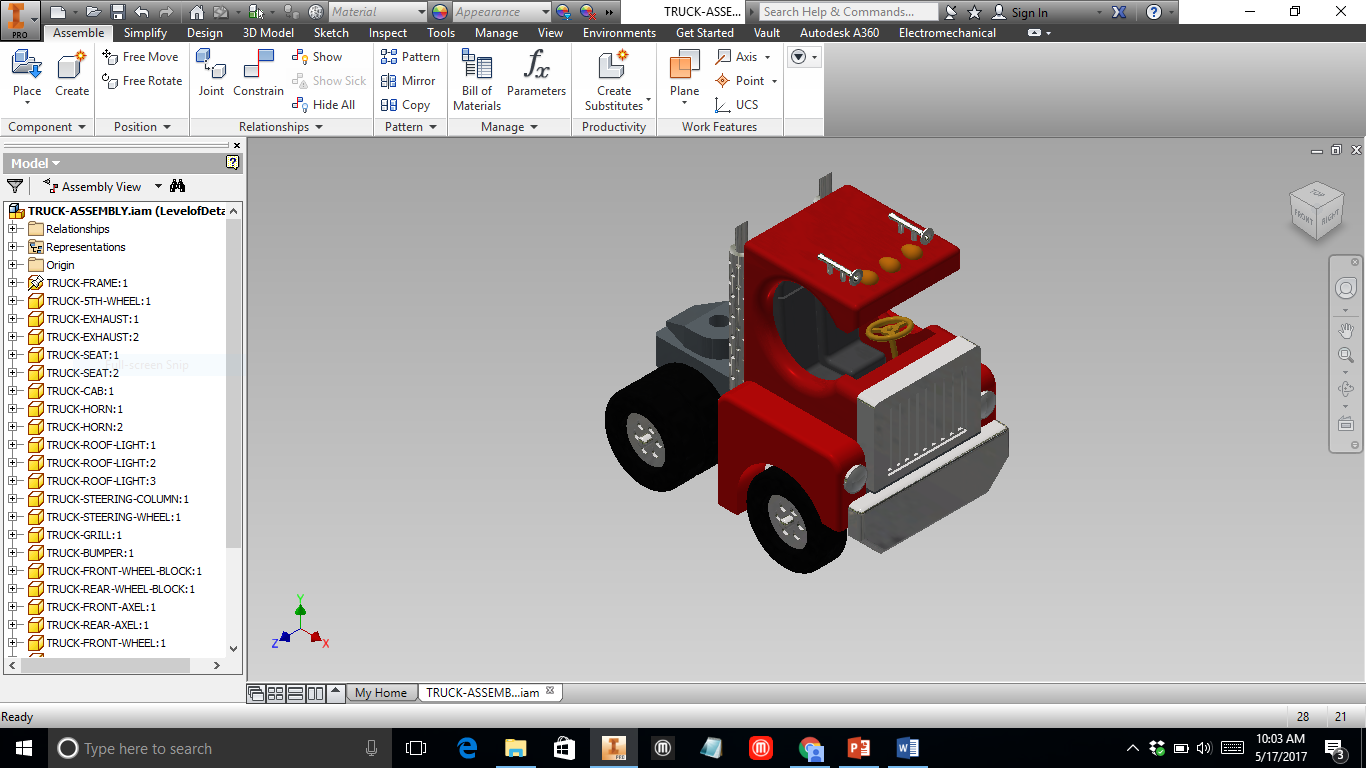
Step 1: Starting file
|
To use Pack and Go, you need to open up the highest level file you've created. For example If you only created parts for an assembly file, then an assembly file should be open. If you have an assembly in drawing files, your drawing file should be the highest file.
|
|
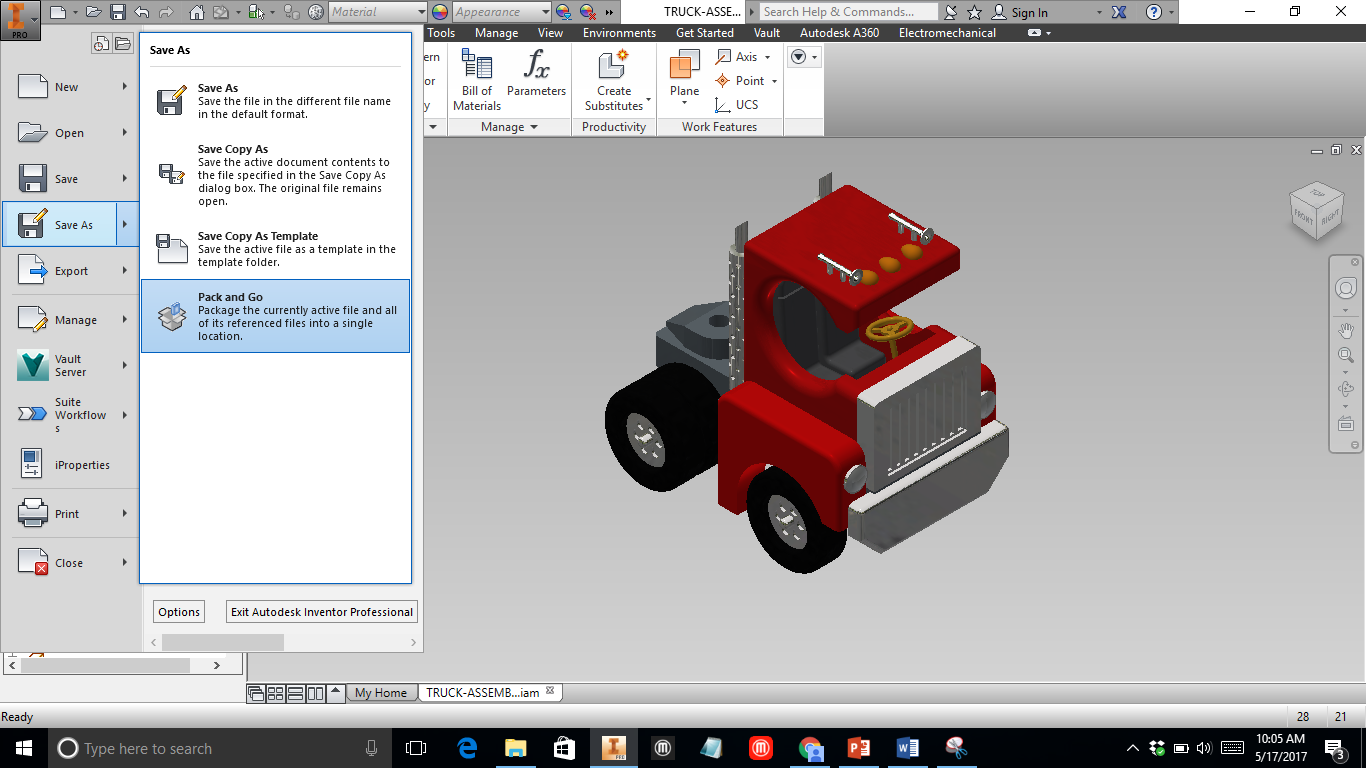
Step 2: Save as Pack and Go
Under Inventor Menu, hover over the "Save As..." option. In the submenu, select Pack and Go
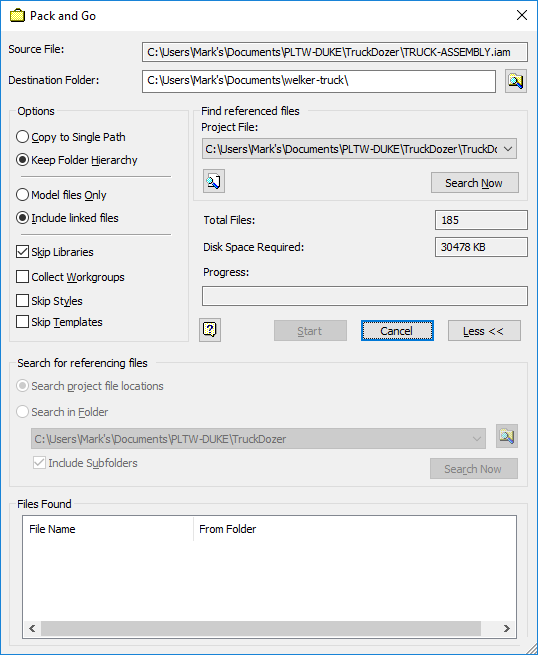
Step 3: Set Pack and Go Options
When the pack and Go menu appears, select "More >>" to view all of the options and files that are being used in the export feature. This is also the time to set up the desired options.
- Copy to Single Path
- Include Linked Files
- Skip Libraries
- Search Project File locations
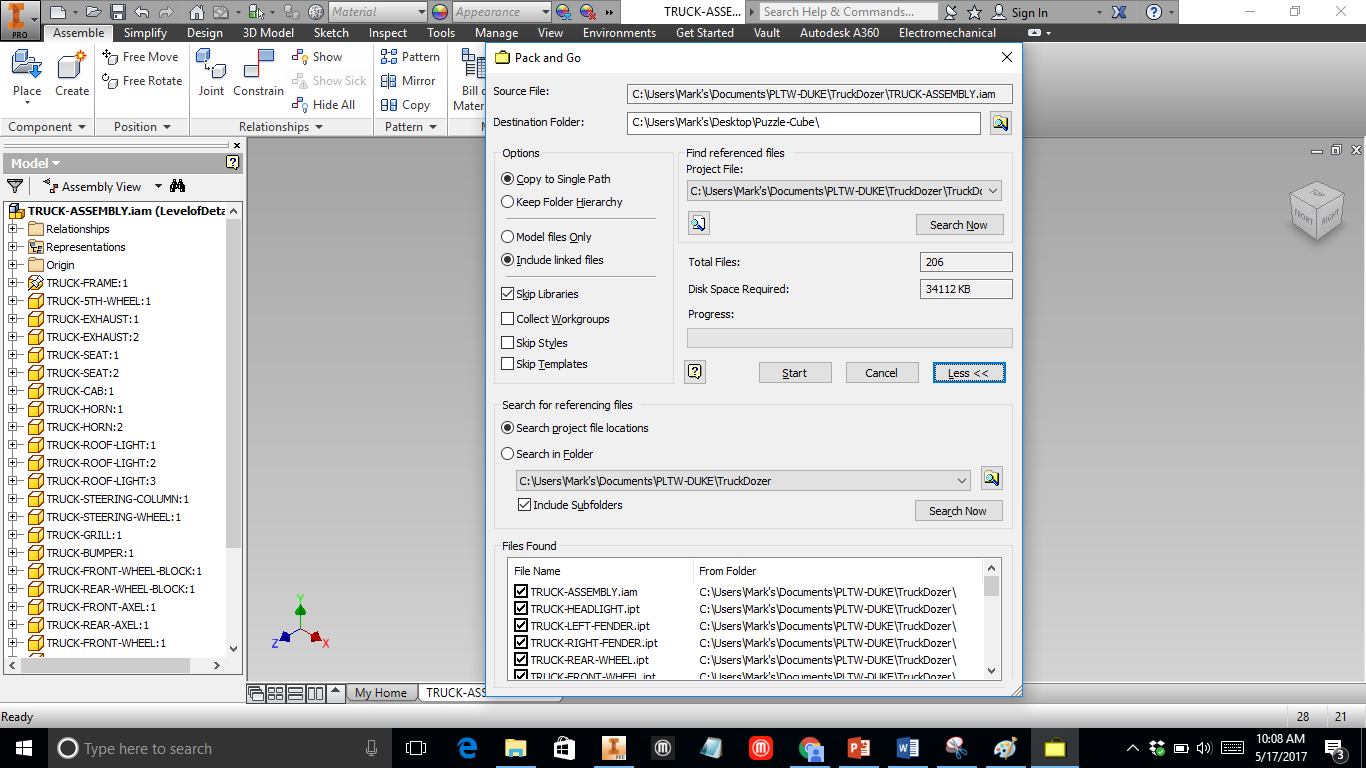
Step 4: Select Destination Folder
To export files, you need to choose the Destination Folder. I recommend that you create a new folder using your name and the project name, for example I created a new folder called "welker-truck" for this project

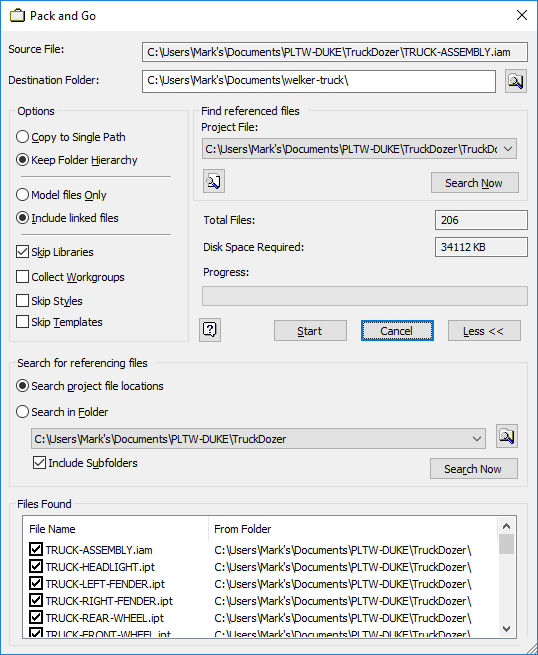
Step 5: Search
With the options and destination folder set, make sure to search for all the files. Note that after search is selected you can see a list of all project files?
|
|
Step 6: Save
After the search, check your file list. If it looks like everything is there, select save. Files will be copied into the desired folder and modified by the software as needed. When the save portion is finished, you will be able to select done to close the window.
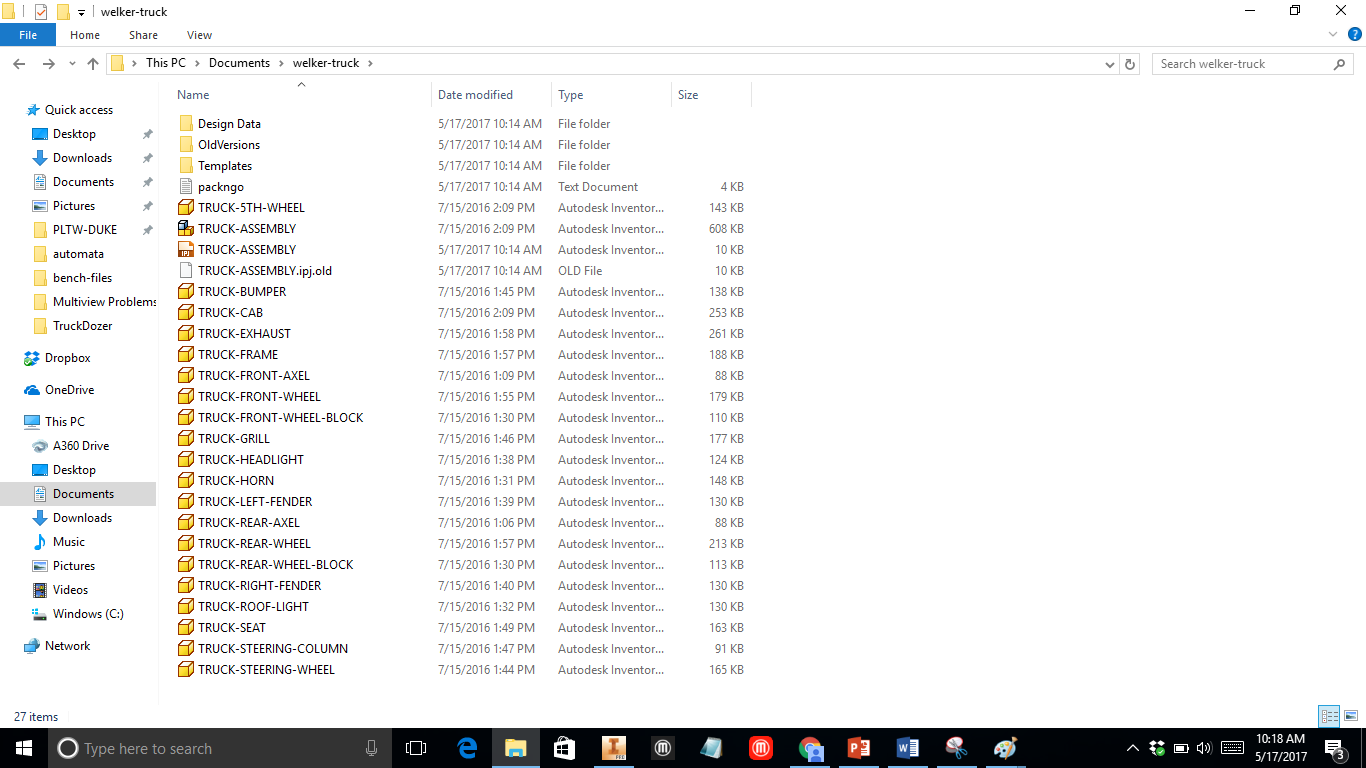
With the save completed, make sure to check your destination folder. All the files you saw in your pack and go list, should be in the destination folder.
With the save completed, make sure to check your destination folder. All the files you saw in your pack and go list, should be in the destination folder.
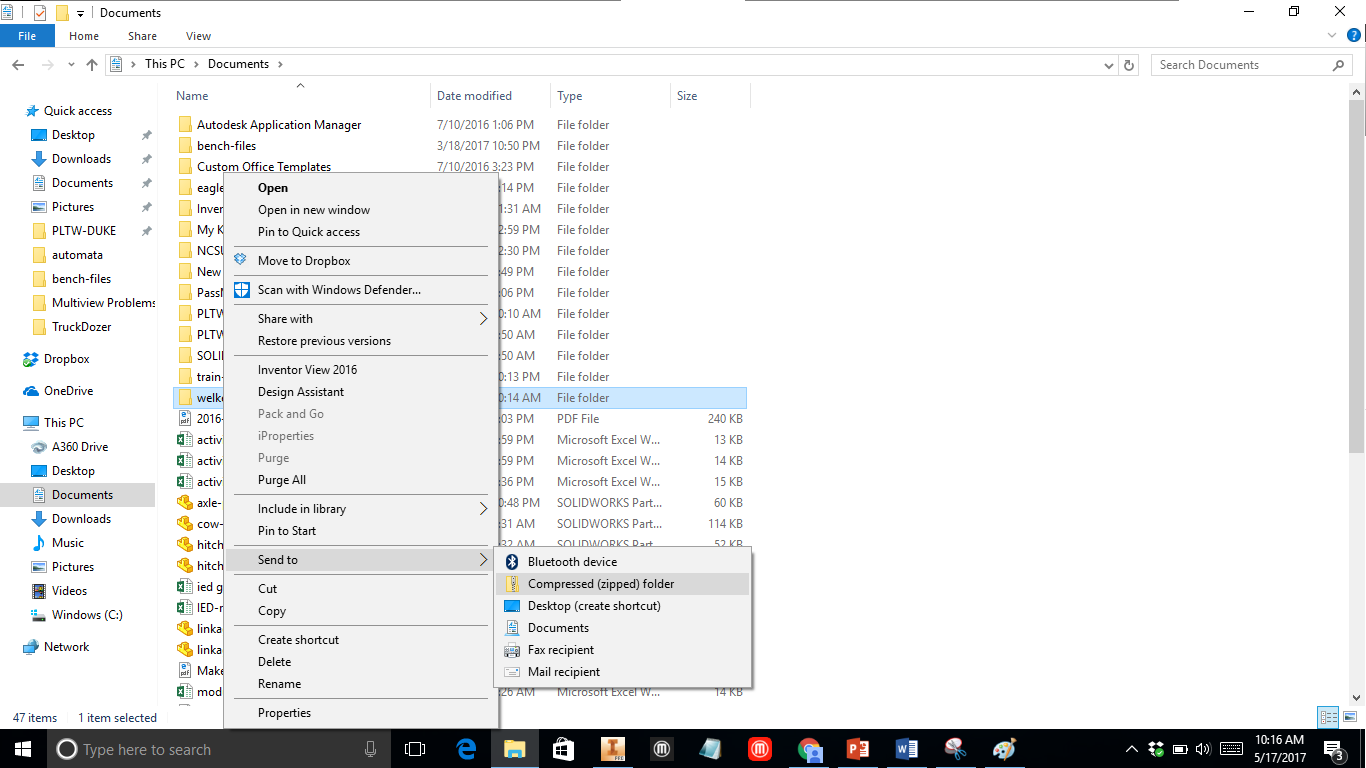
Step 7: Compress files for submission
With all of the files saved in one location, compress the destination folder. In windows, you should be able to right click on the folder, and send to compress. On School computers, this may be done under the 7-Zip submenu. While you may have multiple options, our files should be compressed into zip files.
Make sure your zip file reflects both your name and the project name, then upload though PLTW for your submission.
Make sure your zip file reflects both your name and the project name, then upload though PLTW for your submission.