Laser Cut - Tic Tac ToeYour mission should you choose to accept it is to model and then use a laser cutter to make a simple tic tac toe board.
Tools and Materials:
|

|
Design
Working with a partner, use Inventor to design parts for the tic tac toe board. A Grid, an X and an O equivalent should be designed. No text tools will work in this project. Each part of the kit should be in one Inventor Part File. For symmetry and consistency, try to fully dimension the parts.
Constraint: One complete kit should not need more than 3" x 3" of space
Constraint: One complete kit should not need more than 3" x 3" of space
Assembly
After the three separate part files have been created and saved, create an Assembly file. In the assembly file place your grid as as many X and O equivalent pieces as needed. Constraints do not nee to be applied for the pieces, but a flat view should be used (top, frount, side, just pick one) Think about it as real life game of tic tac toe. All 9 grid locations will be filled, but avoid having any of the parts touching other parts. (Have a gap between the grid and the pieces.) Save your assembly in the same folder as your parts.
Drawings
After the assembly has been finished and saved, create a new Drawing file. The page size will not matter at this time. Place a base view and select your assembly file. You may need to rotate your view cube to show the complete board as a 2D drawing. Set the scale as 1:1.
Save the drawing for future editing if needed, then save a copy.
File Criteria for laser cutting:
Save the drawing for future editing if needed, then save a copy.
File Criteria for laser cutting:
- Save copy as a DXF File
- Under options for DXF File:
- File Version: AutoCAD 2007 DFX
- All Sheets
- Model Geometry Only
- Data Scaling : Full Scale (1:1) - Model Space
- Closest AutoCAD Mapping
- Save file in same folder as the rest of your Tic Tac Toe project
Prepare for Laser Cutting - Inkscape
Autodesk Inventor can not directly control the lasercutter, so we need to check your work in Inkscape, a Vector Drawing Program.
In Inkscape:
In Inkscape:
- Open your DXF File
- DXF Input Popup window will appear
- Select Manual Scale
- Set Manual Scale Factor as 25.4 (1 inch = 25.4mm)
- Select OK
- Select and Move drawing to Top Left Hand Corner of the document
- While Selected, make a copy for each partner who worked on the project. (if needed)
- Make sure that second copy is placed in a way that will fit on the wood being cut
- Select all likes that you want laser cut and change stroke color to Red (#FF0000)
- Save the file as an SVG and we're ready to lasercut!
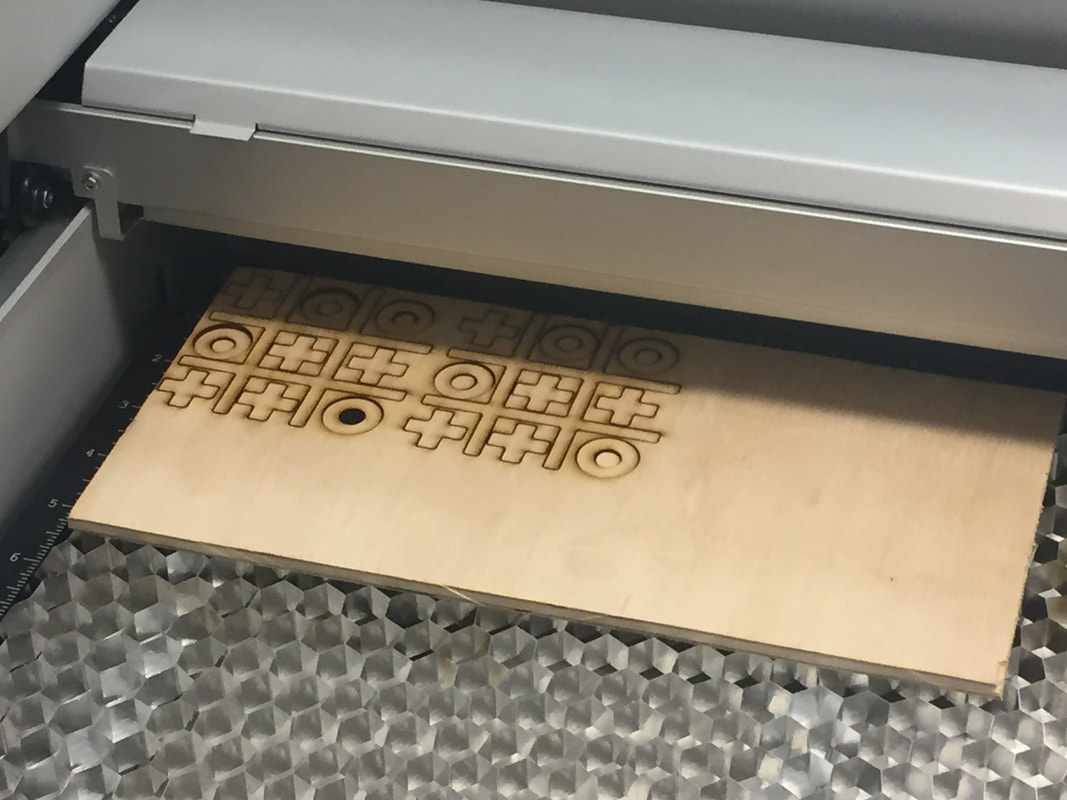
Laser Cutting
|
See Mr. Welker.
|
|
